This is part three of my series of posts describing how I made my quiz game o(m)g:image.
- Project Announcement
- Pt. I: Design Iterations
- Pt. II: As Little JS As Possible
- Pt. III: The HTML
- Pt. IV: URLs
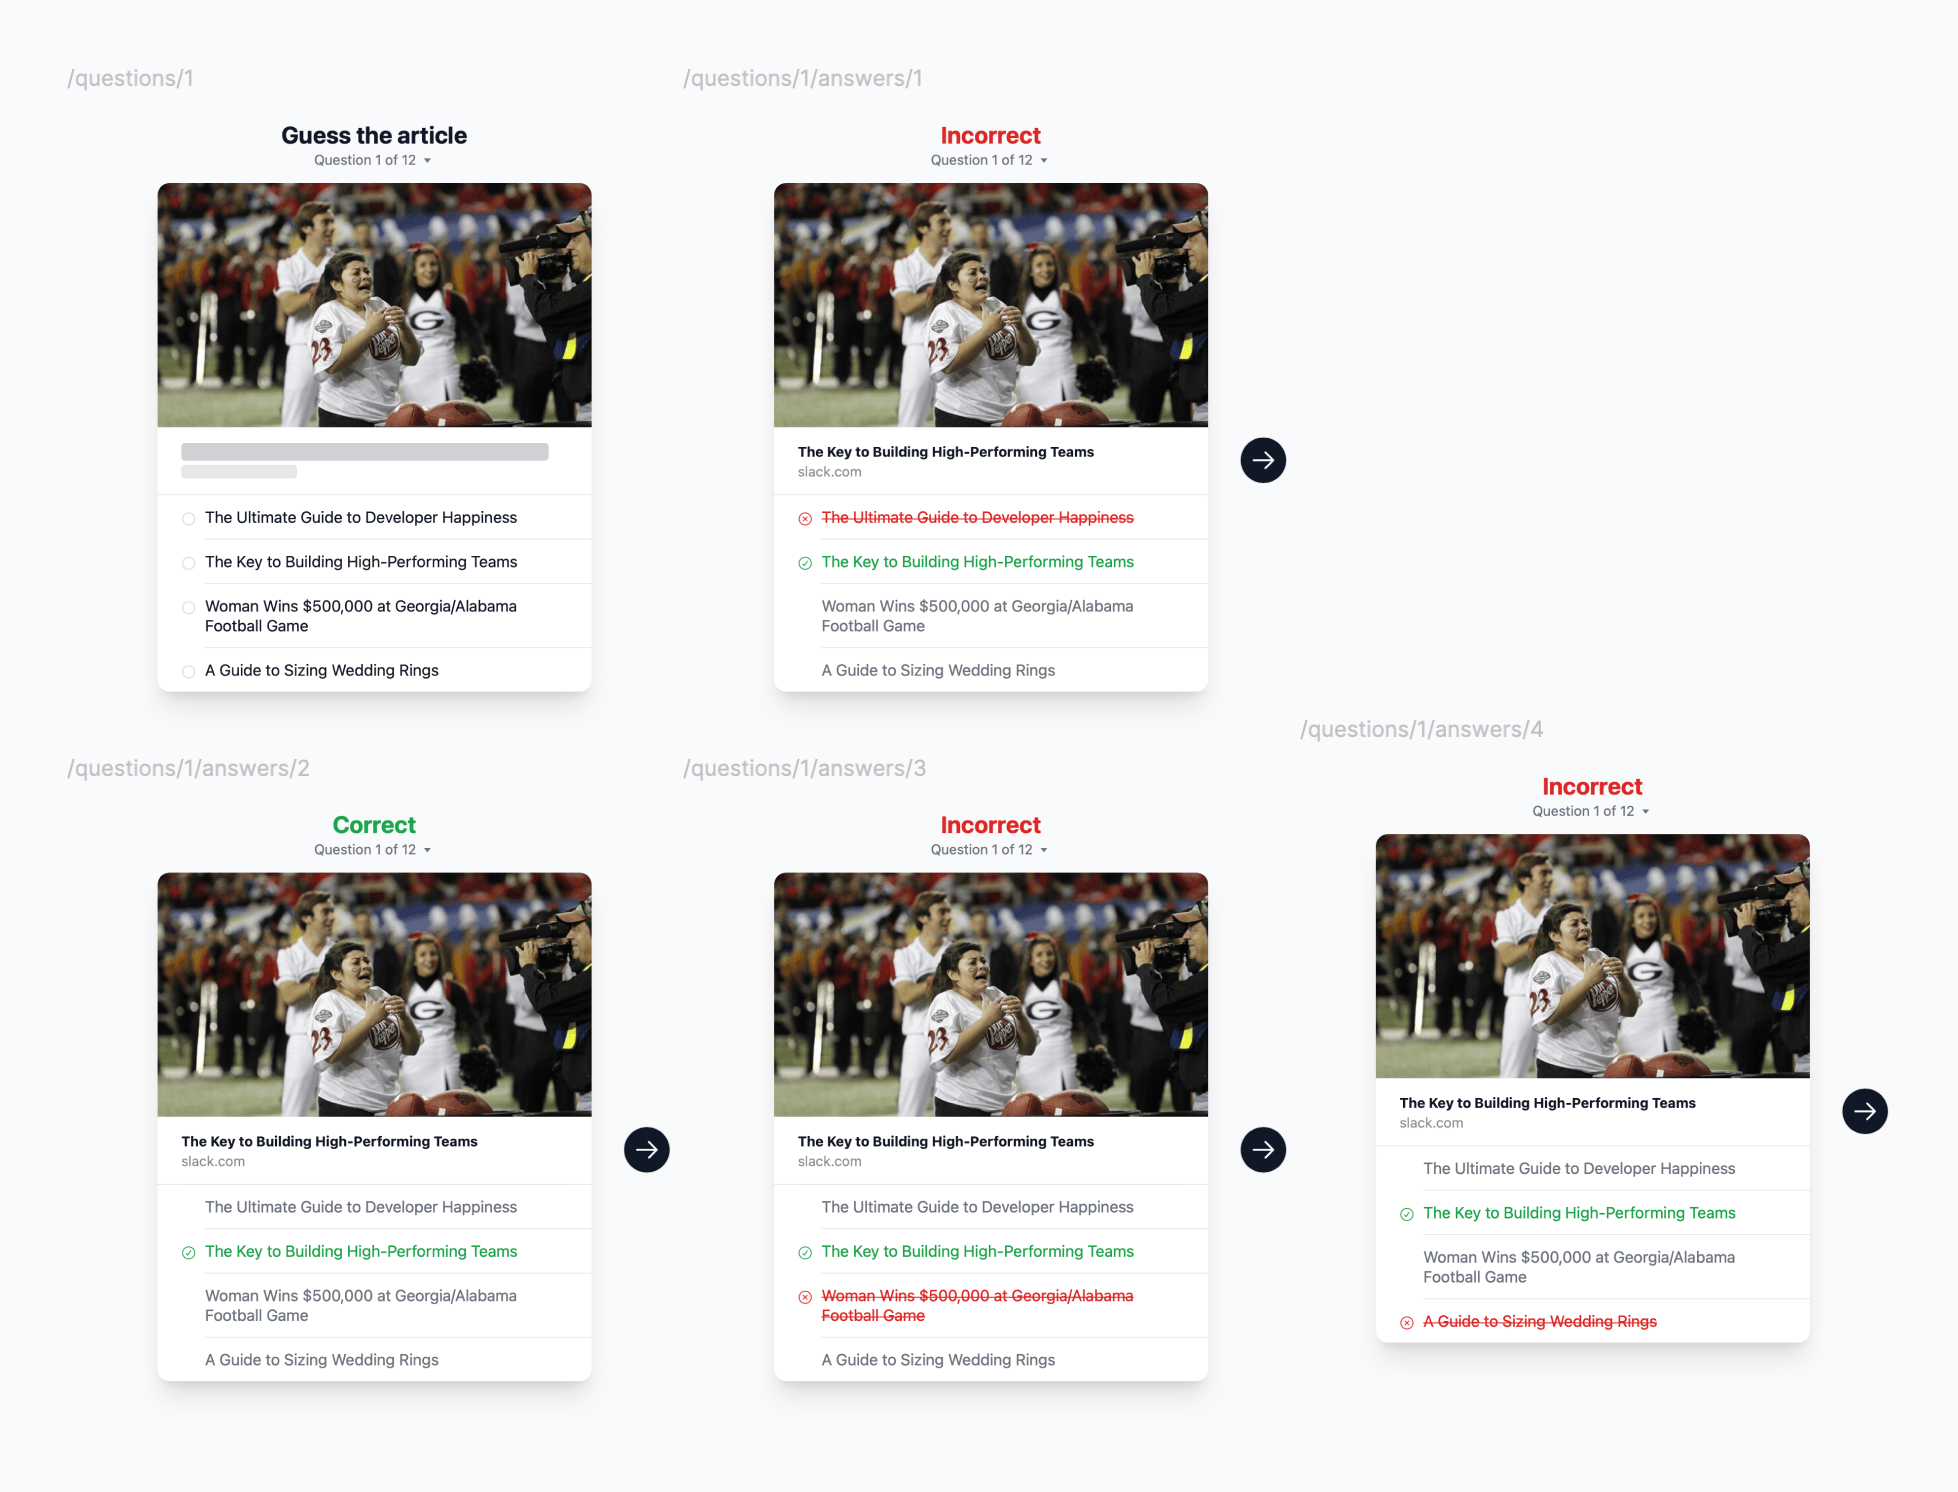
o(m)g:image is presented like a quiz:
- You get one question at a time
- When you choose an answer, it shows you if you got it right (and, if you didn’t, what the right answer is)
- You go to the next question
To do this, I generate an HTML page for every question and for every possible question’s answer (correct or incorrect).
In my source code I have a file that outlines all the questions and their answers, e.g.
- id: 1
  answerId: 2
  answersById:
    1: The Ultimate Guide to Developer Happiness
    2: The Key to Building High-Performing Teams
    3: Woman Wins $500,000 at Georgia/Alabama Football Game
    4: A Guide to Sizing Wedding Rings
- id: 2
  # more data here
I use Web Origami as my build tool to loop over all this data and output an HTML page for 1) each question, and 2) each answer for each question. The URLs for accessing these pages follow this pattern:
/questions/:question-id/answers/:answer-id
So, for example, question 1 has 4 possible answers and answer number 2 (in the source data) is the correct one. So for that question, I create an HTML page for:
/questions/1- e.g. “Here’s the question and its possible answers”
/questions/1/answers/1,/questions/1/answers/3, and/questions/1/answers/4- e.g. “Sorry, you got it wrong. Answer 2 was right.”
/questions/1/answers/2- e.g. “You got it right!”

Because the game is structured this way, I have a pretty good idea how people will flow through the game:
- Question 1, then
- Question 1: answer 1, 2, 3, or 4, then
- Question 2, then
- Question 2: answer 1, 2, 3, or 4, then
- Etc.
So when a user lands on a question page, e.g.
/questions/1
And they click on an answer, rather than go fetch that page with JavaScript and insert it into the current page, I go ahead and let the browser’s default take over which is to do a full page reload.
However, I optimize for this by preloading the HTML pages where the user will go next. So if they’re on /questions/1, I preload each answer page for that question:
<!-- /questions/1 -->
<link rel="preload" href="/questions/1/answers/1/" as="fetch">
<link rel="preload" href="/questions/1/answers/2/" as="fetch">
<link rel="preload" href="/questions/1/answers/3/" as="fetch">
<link rel="preload" href="/questions/1/answers/4/" as="fetch">
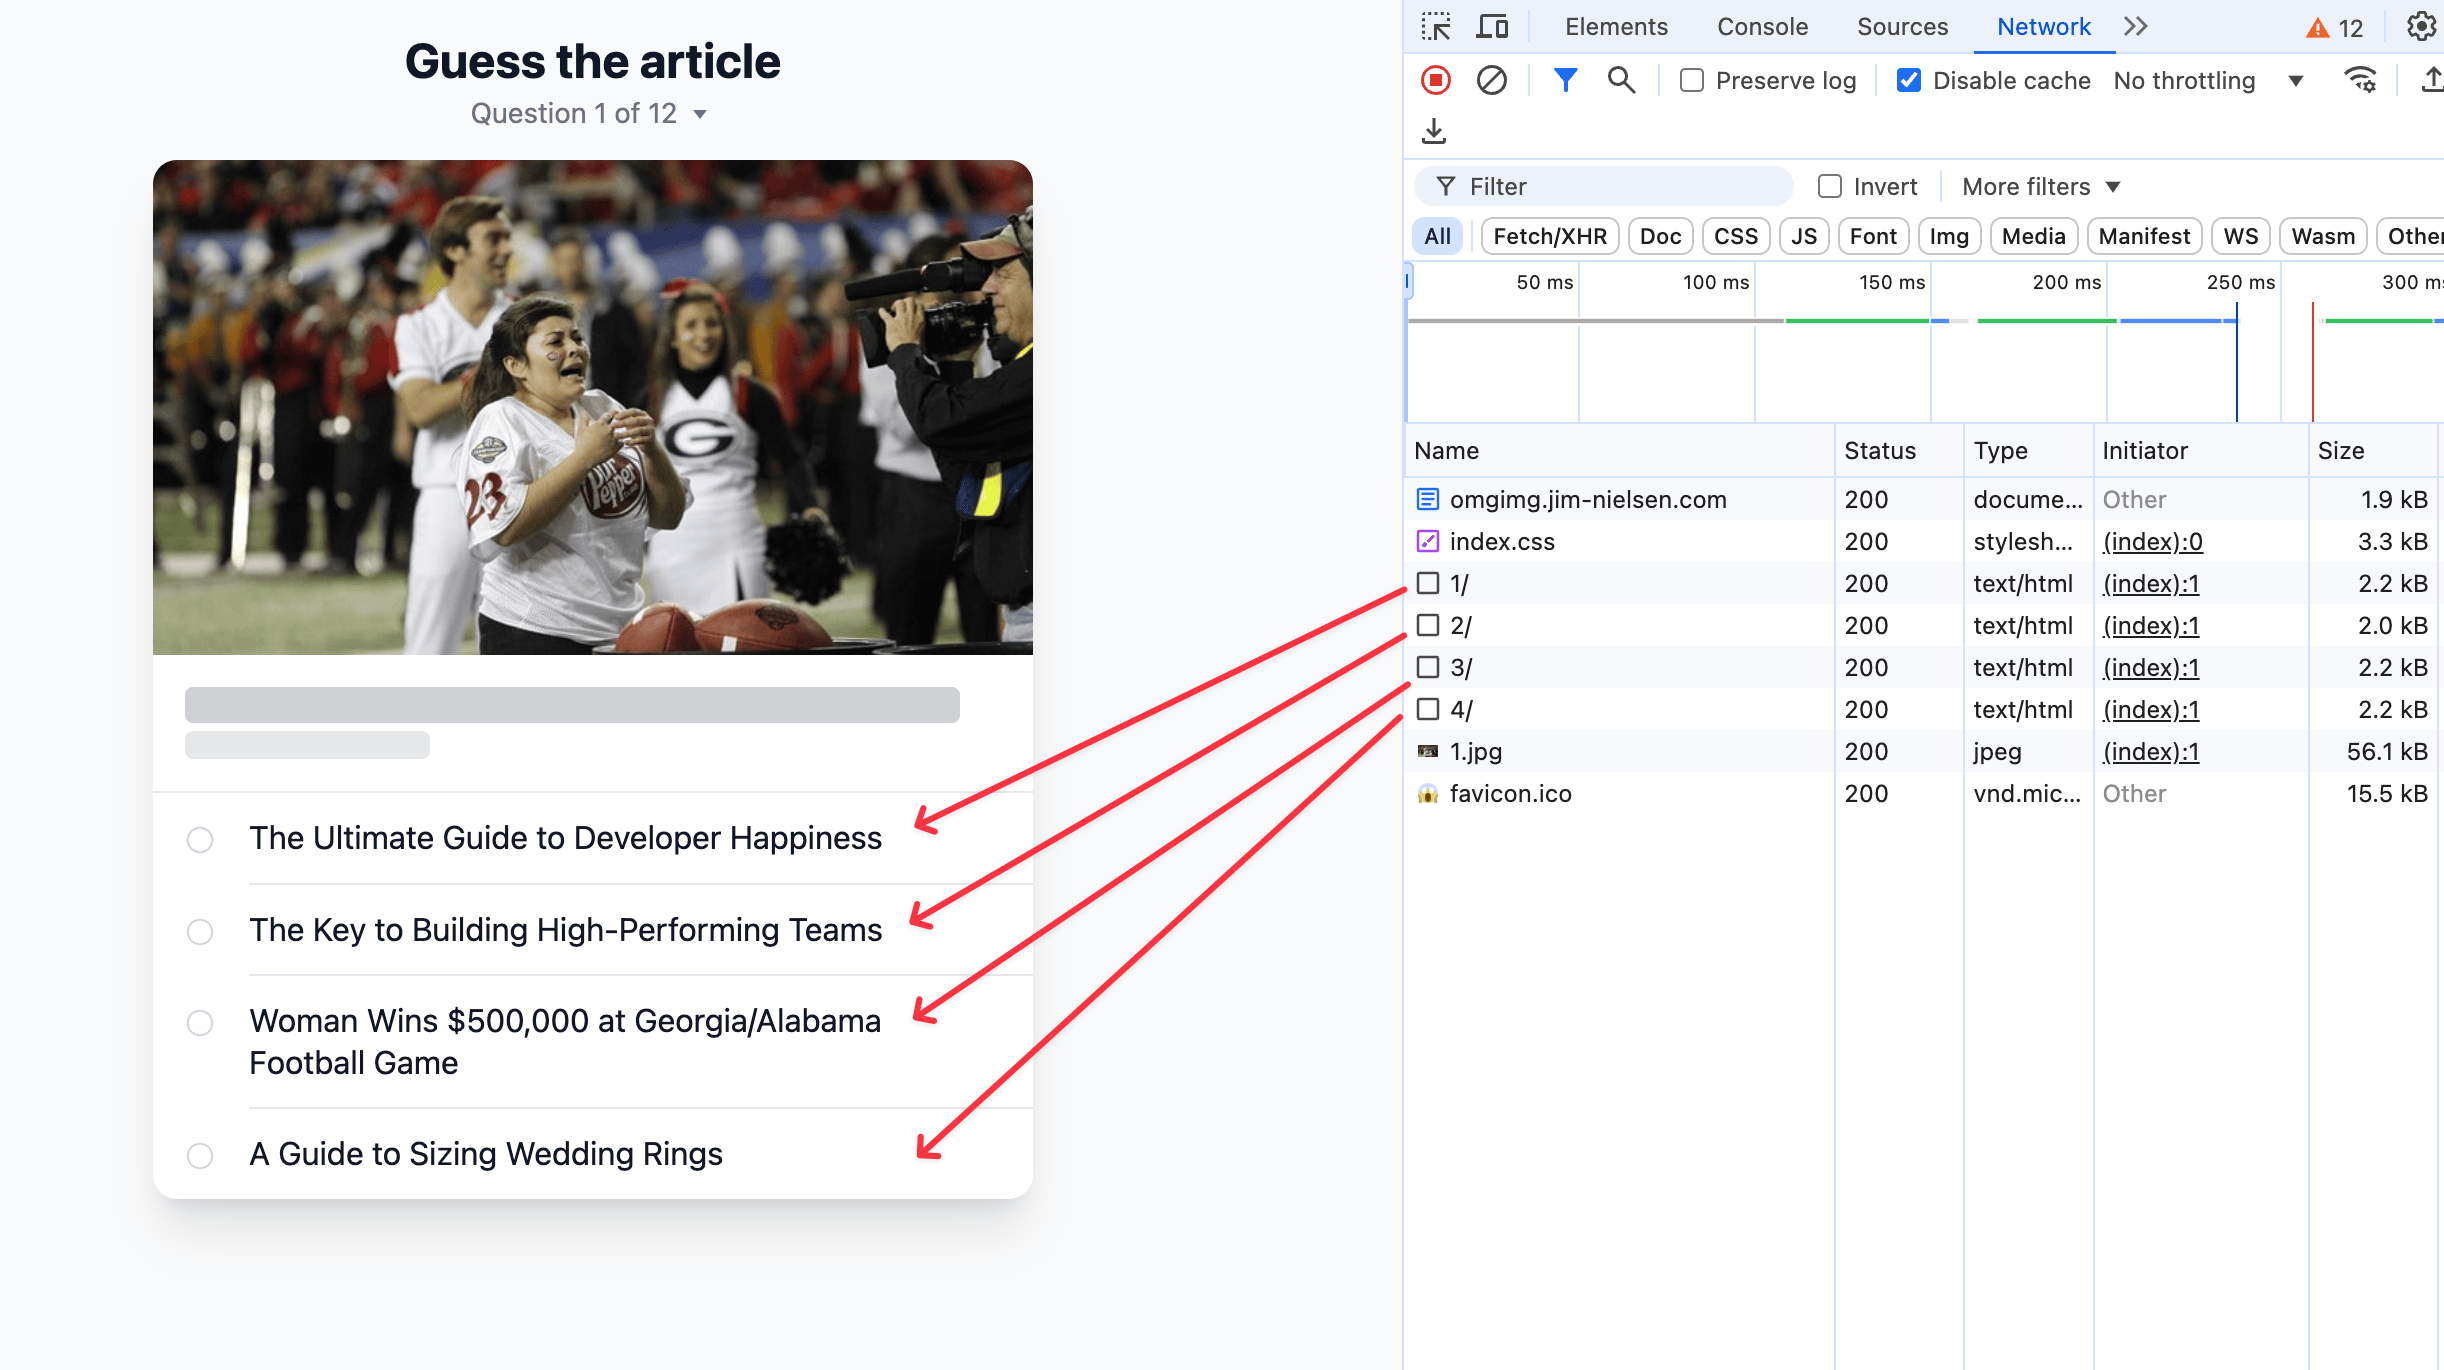
Then, when they click on an answer, the browser already has that HTML page. It loads fast! For example, here’s a question page and you can see in the Network tab of the Developer Tools how it preloaded each answer’s HTML page.

Similarly, when someone lands on an answer page for a question — like /questions/1/answers/2 — I have a pretty good idea where they’ll go next (the next question!) so I preload that:
<!-- /questions/1/answers/2 -->
<link rel="preload" href="/questions/2/" as="fetch">
Once again, things load fast!
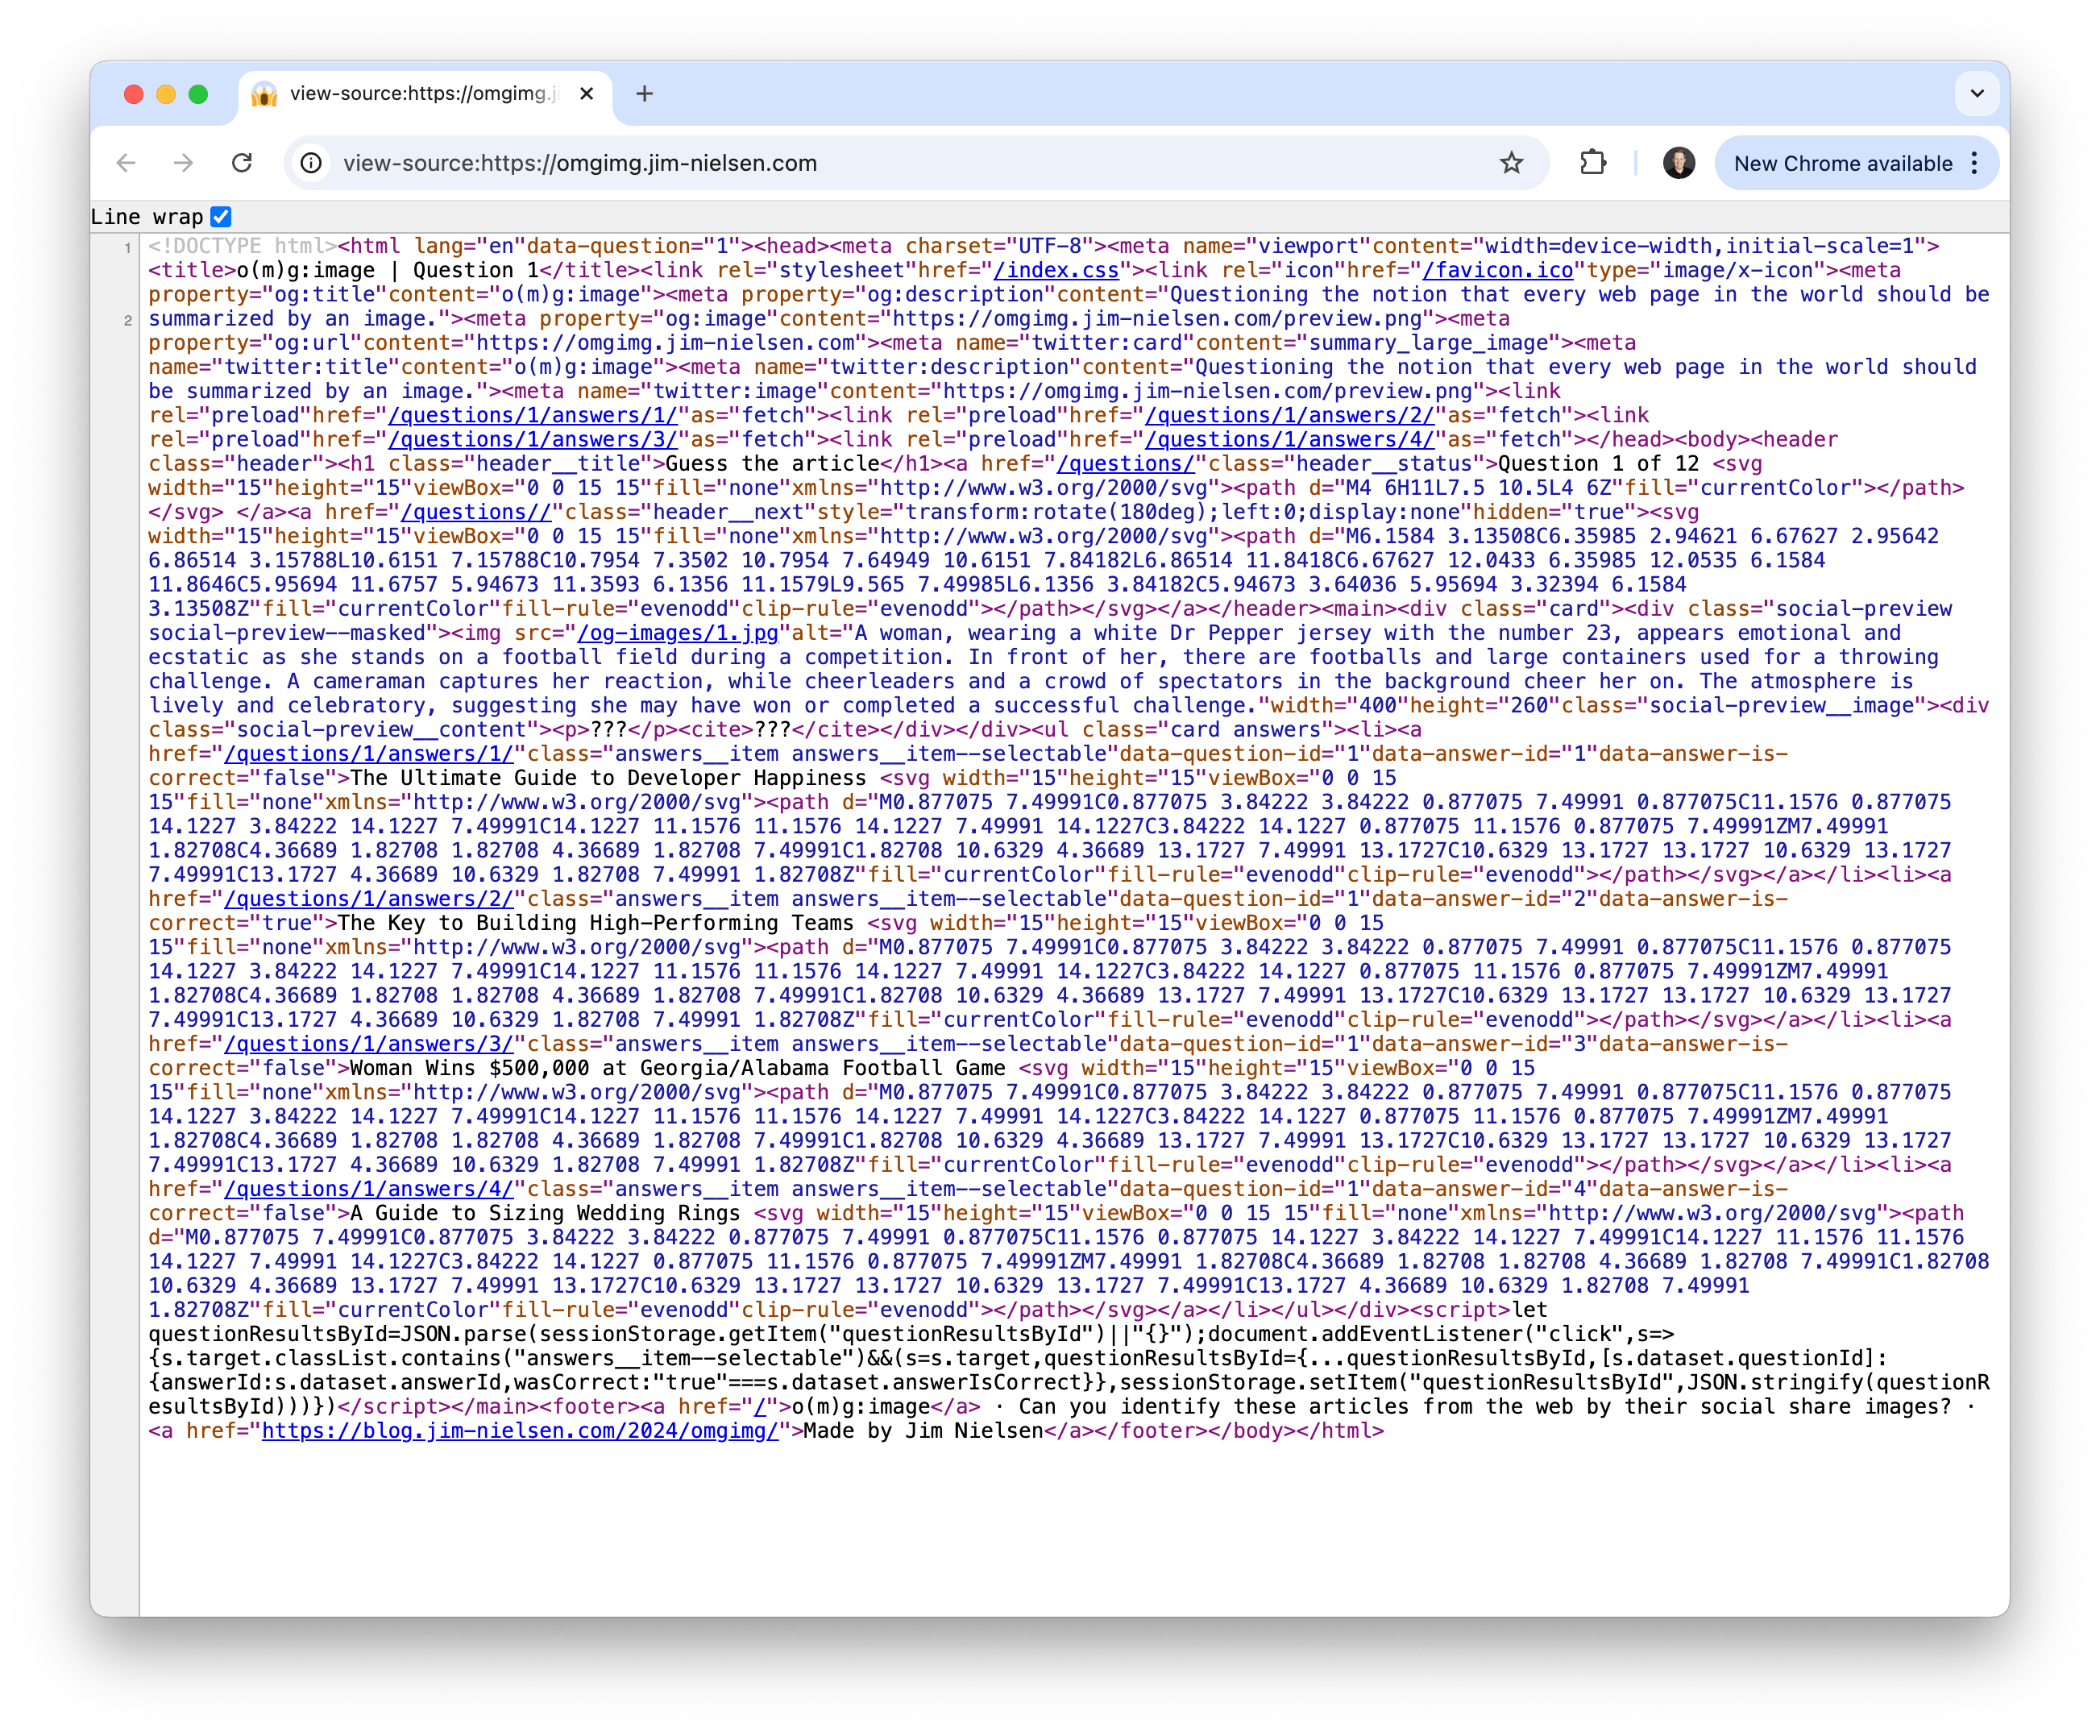
This is possible, in part, because every HTML page is small. Here’s a screenshot of “View source” on the first question:

Because these pages are so small in size, it’s totally negligible to just load four or five of them in anticipation of a click.
Side note: I considered inlining all my CSS as a <style> tag for each HTML page. But then as I thought about how I wanted to preload answers, I realized using a <link> to a single CSS stylesheet across all pages would be even better, because while it’s one extra request it gets cached for every subsequent HTML page — trade-offs! That’s, in part, how every HTML page can be so small.
What I love about all of this is that I don’t have to write any JavaScript. Because the UI is so small, and I designed it so each element on screen doesn’t shift in layout from one page to the next, it can feel like a SPA with in-place transitions but it’s not! It requires zero JavaScript to achieve.
It feels akin to those tricks they use in film, like forced perspective, where you can achieve the illusion of something without the cost of special effects (very useful on small budgets). For example, I love this explanation of how they made the actors for Gandalf and Frodo in The Lord of the Rings appear in the same scene and, even though they’re both full-sized humans, one appeared much more hobbit-sized purely via some tricks of cameras, tracks, and props — zero computerized special effects required!
It feels a bit analogous to web development, where personal-sized projects don’t want to pull out the big “special effects” JavaScript used by big studios. You can achieve a similar, perhaps even better, effect using a few little tricks.
Reply via:
Tagged in: #omgImg
Related posts linking here: (2024) Making o(m)g:image, Part IV: URLs